Table Hub
A friend of mine owns a restaurant. His first request was, "Can you make a website for me?" I immediately said, "Of course!" and within a week, the website was done and published. His next request was a bit more complicated: "Can you make a system to handle reservations for me?" At first, I said no, explaining that it would be a lot of work and there are already plenty of existing solutions. But after some time passed, I decided to take on the challenge.
Having worked in the horeca industry throughout my school years, I knew a lot about restaurant reservations and the frustrations that come with them. With that understanding, I felt confident that I could create a good tool. And so, my journey to build Table Hub began.
How it started
Since I saw this as my first project with the potential for selling subscriptions, I wanted to be organized before writing a single line of code. These were my initial steps:
- Pick a name for the tool.
- Design a logo.
- Create a requirements list (to keep everything clear).
The first challenge when choosing a name was finding one with an available domain 😅. It took much more time than expected. Once I had the name, I moved on to the logo. After a lot of trial and error, I finally designed one I was really happy with. With the name and logo sorted, I could start planning how I wanted to approach the development.

Technical decisions
From my previous projects, I realized that writing the full design in CSS isn’t very efficient. That’s why I decided to use a UI library for the first time, which provides components out of the box with built-in functionality—a huge time saver! This time, I used Vue for the frontend and PrimeVue (v3.5) as the UI library. For the backend, I stuck with what I’m familiar with: NestJS and MongoDB.
This time around, I focused on testing more thoroughly. I used Jest for my backend tests and OpenAPI to generate my services in the frontend—another massive time saver. On the frontend, I was determined to test everything properly, so I used Playwright for frontend testing. I also started using Docker for local development because it’s just so easy to get started.
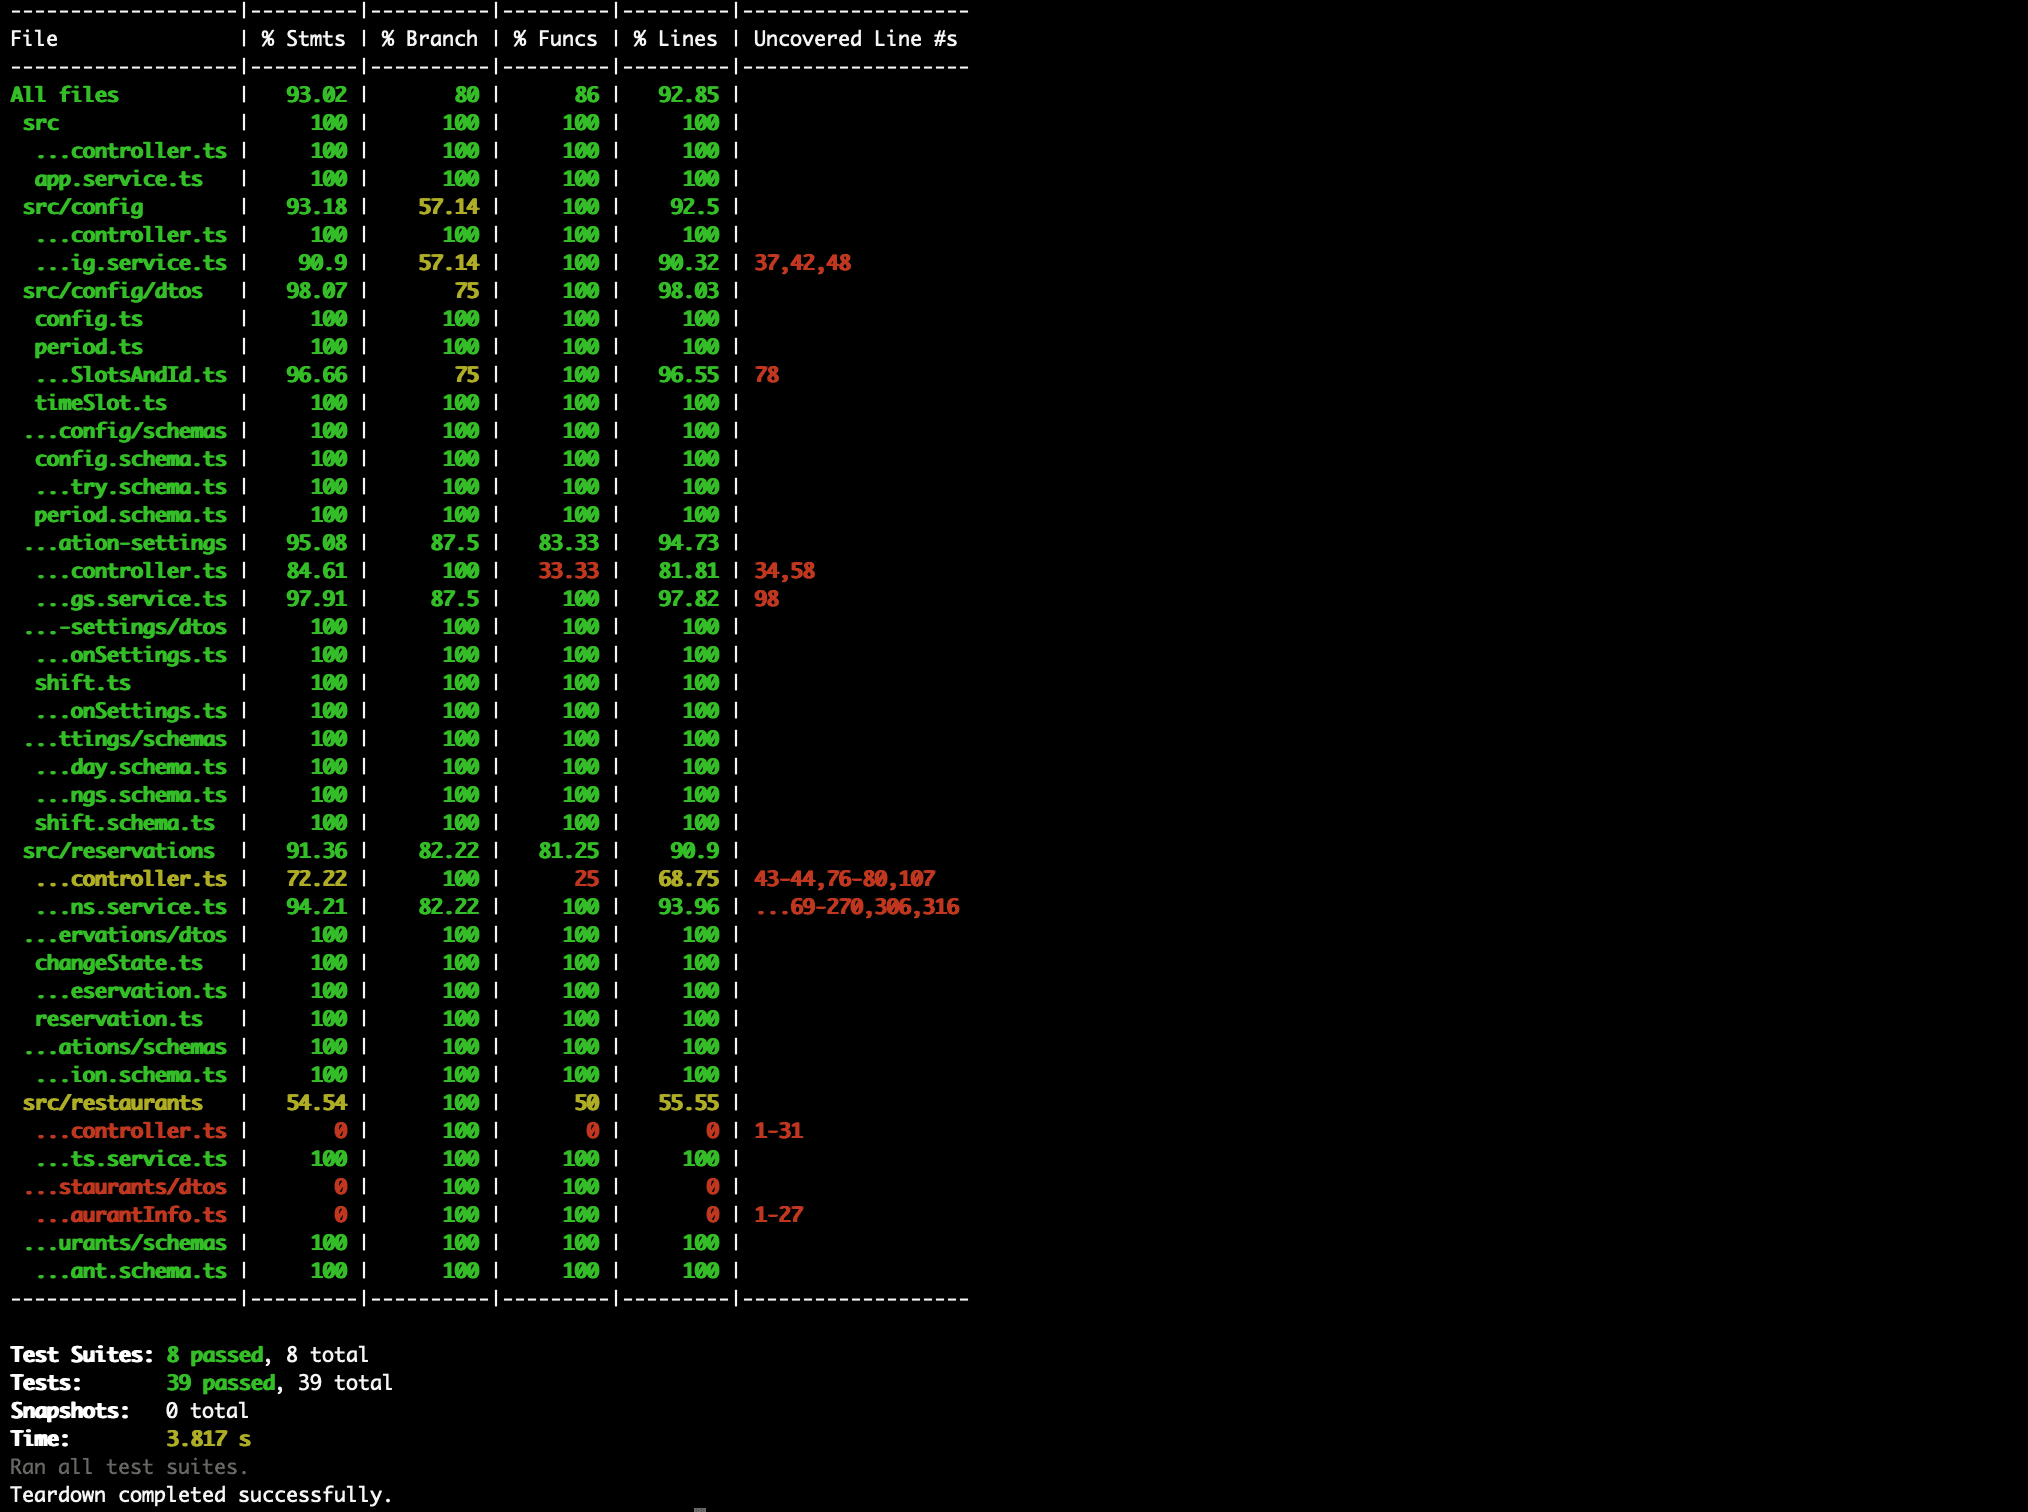
Table Hub Widget
The first technical challenge was figuring out how to integrate my tool with independent restaurant websites. I decided to use an iframe for this. Here's how it works: the restaurant owner (or their tech person) adds an iframe to their website that points to a unique URL. This URL is linked to their restaurant, and all settings and availability are loaded into the widget. From there, users can make reservations directly through the widget.
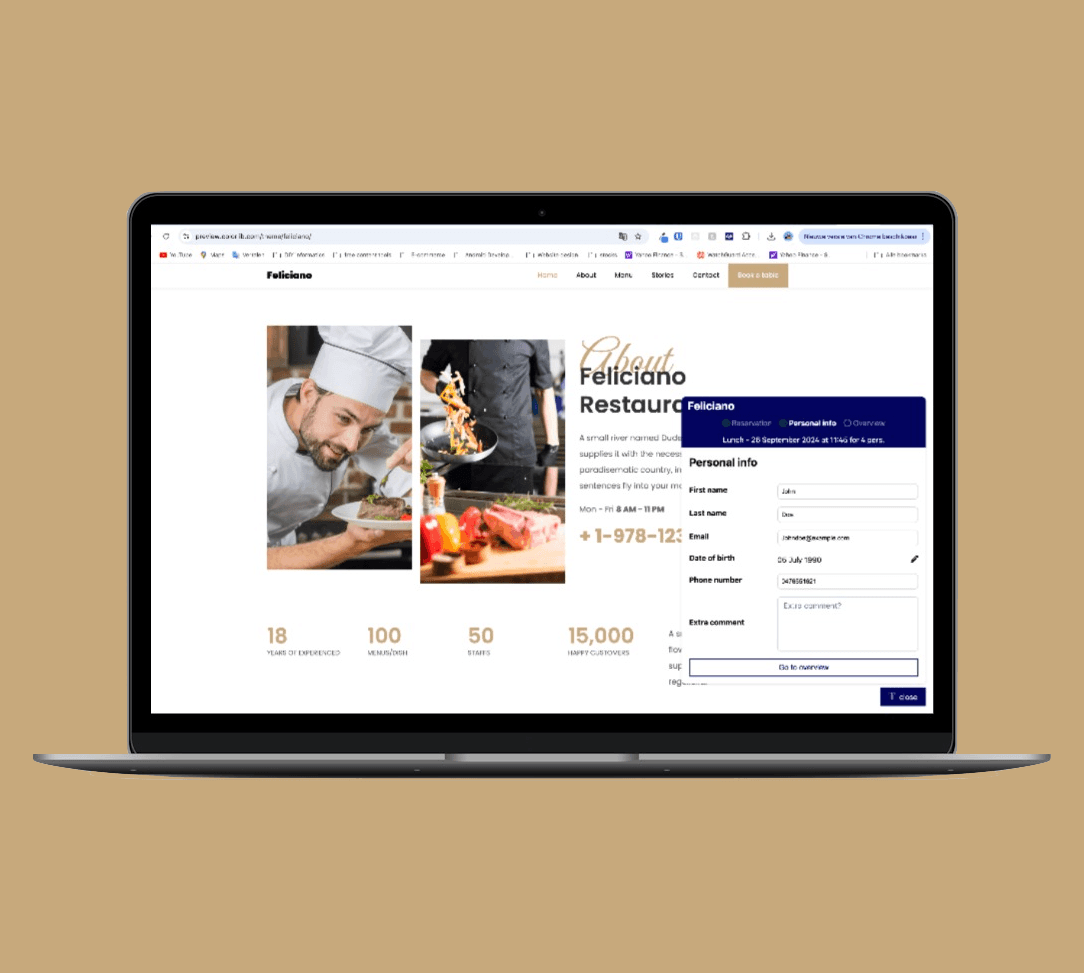
Table Hub Portal
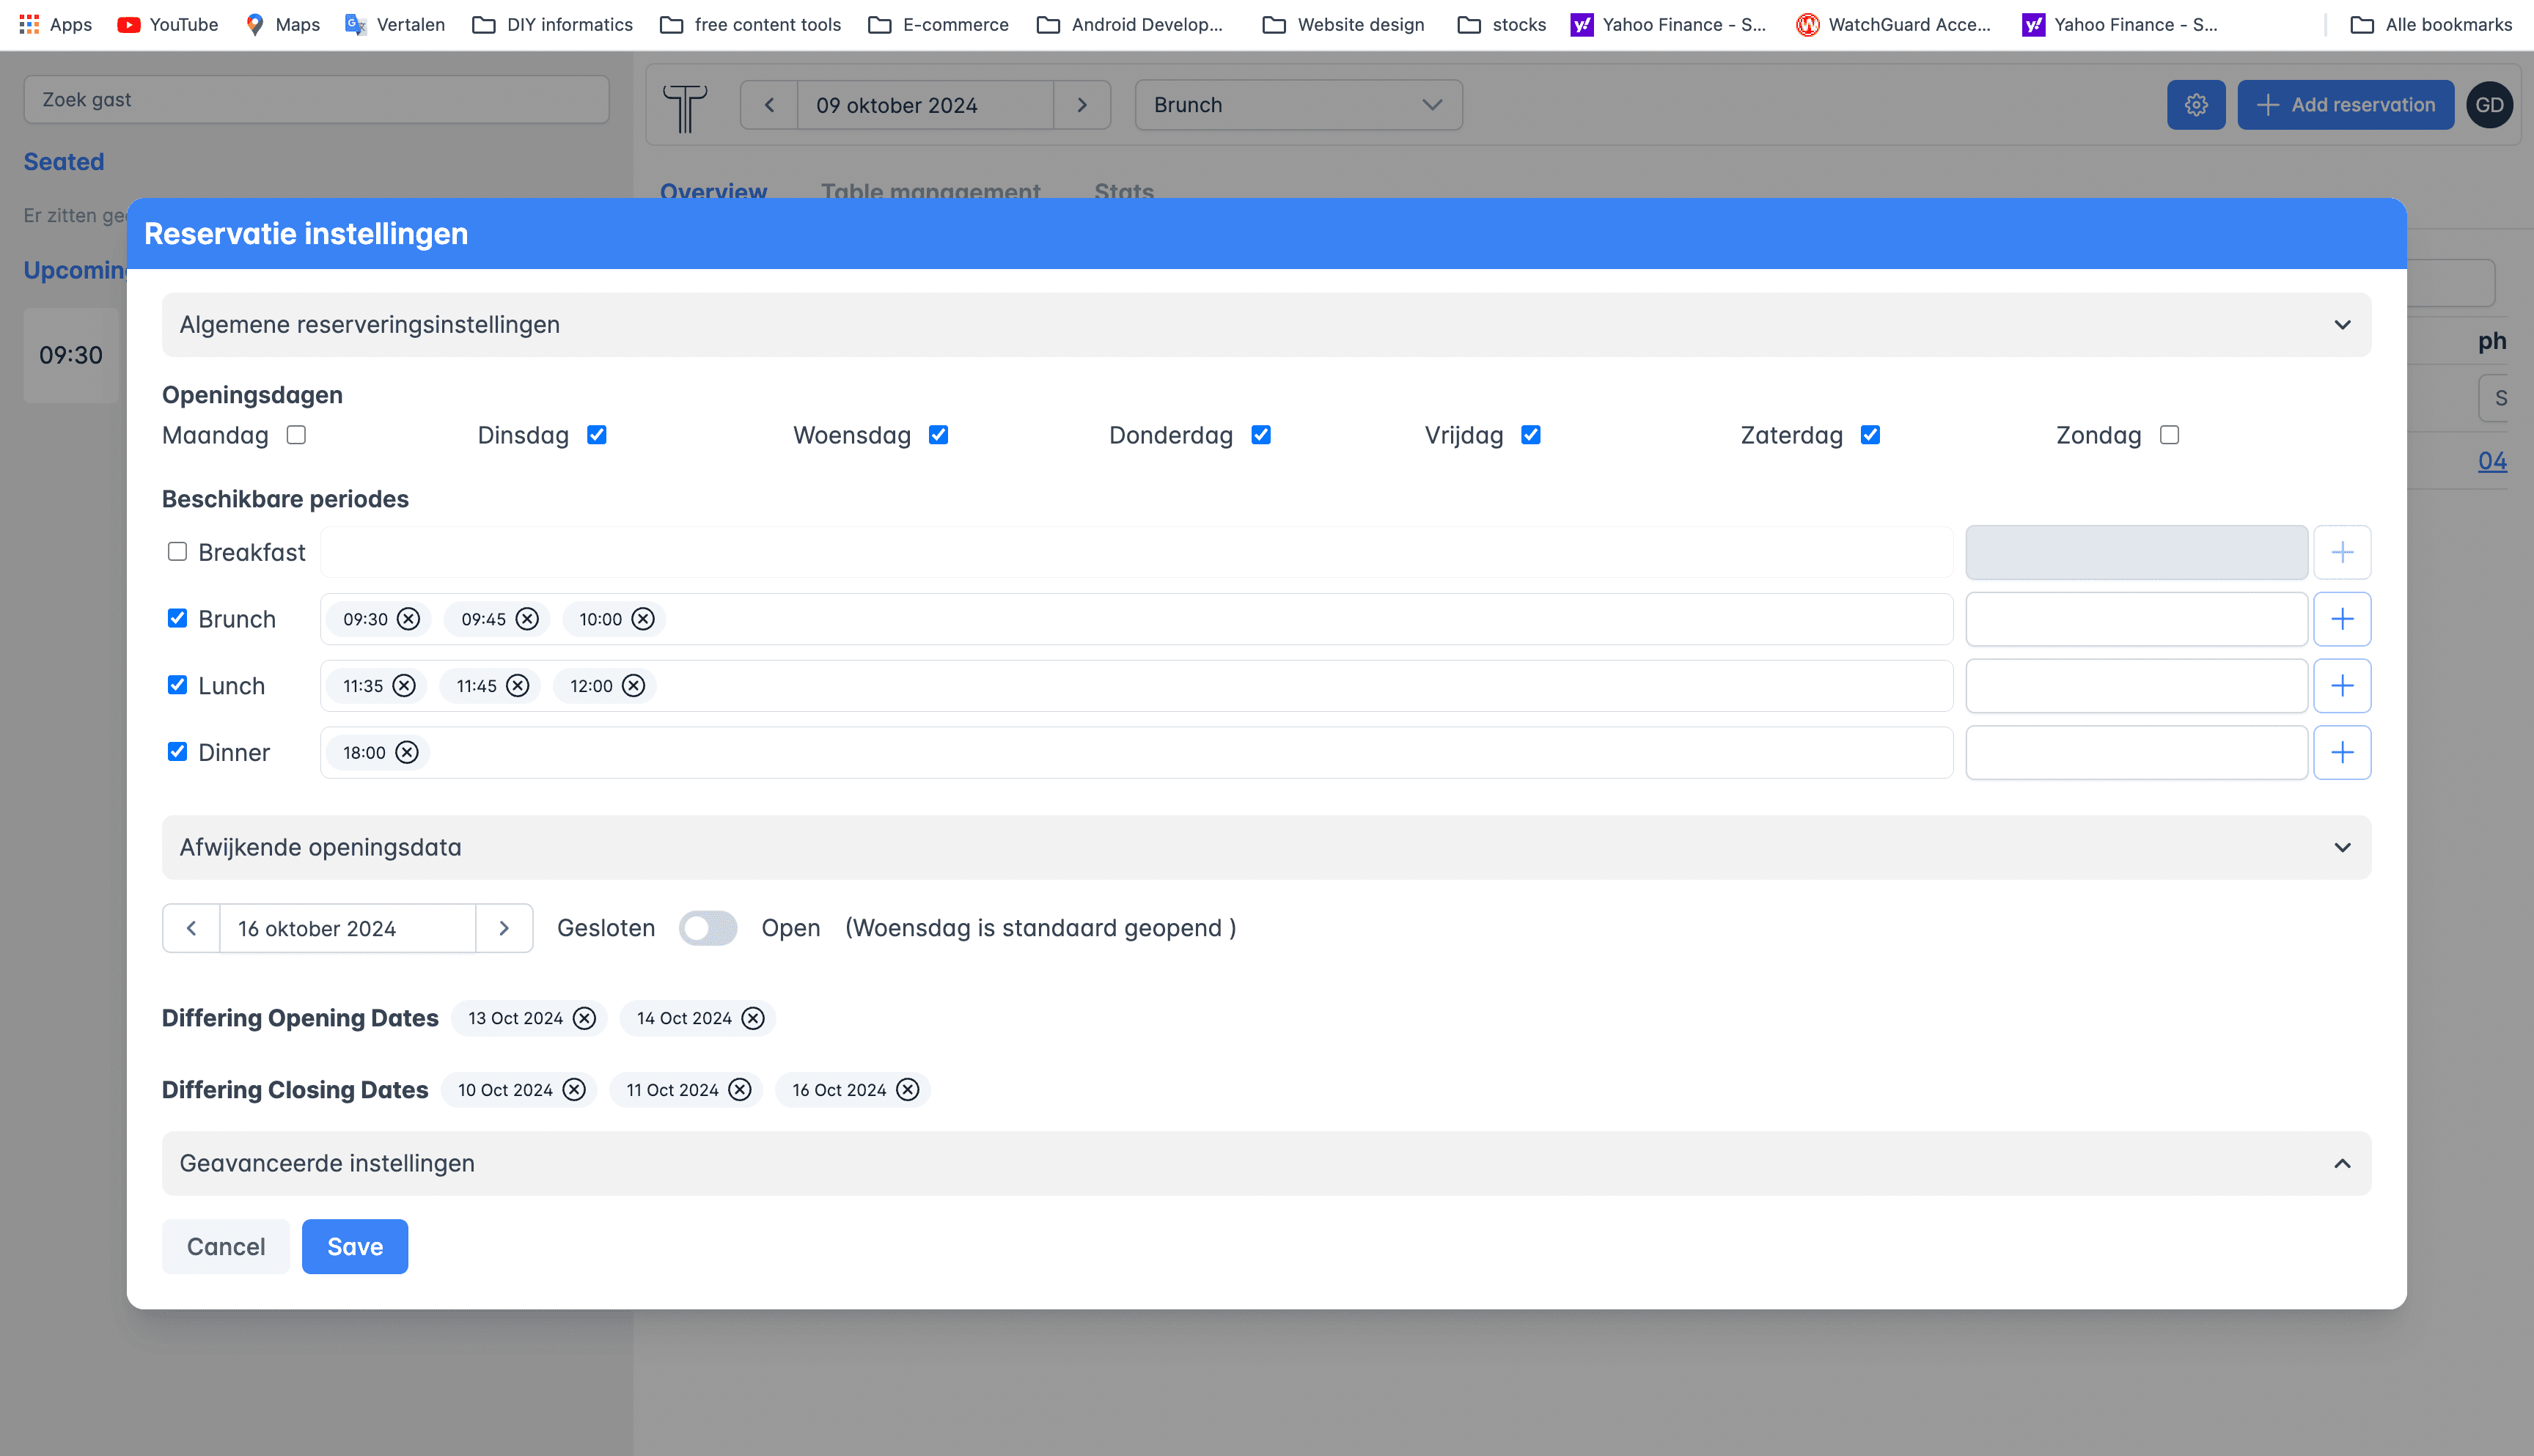
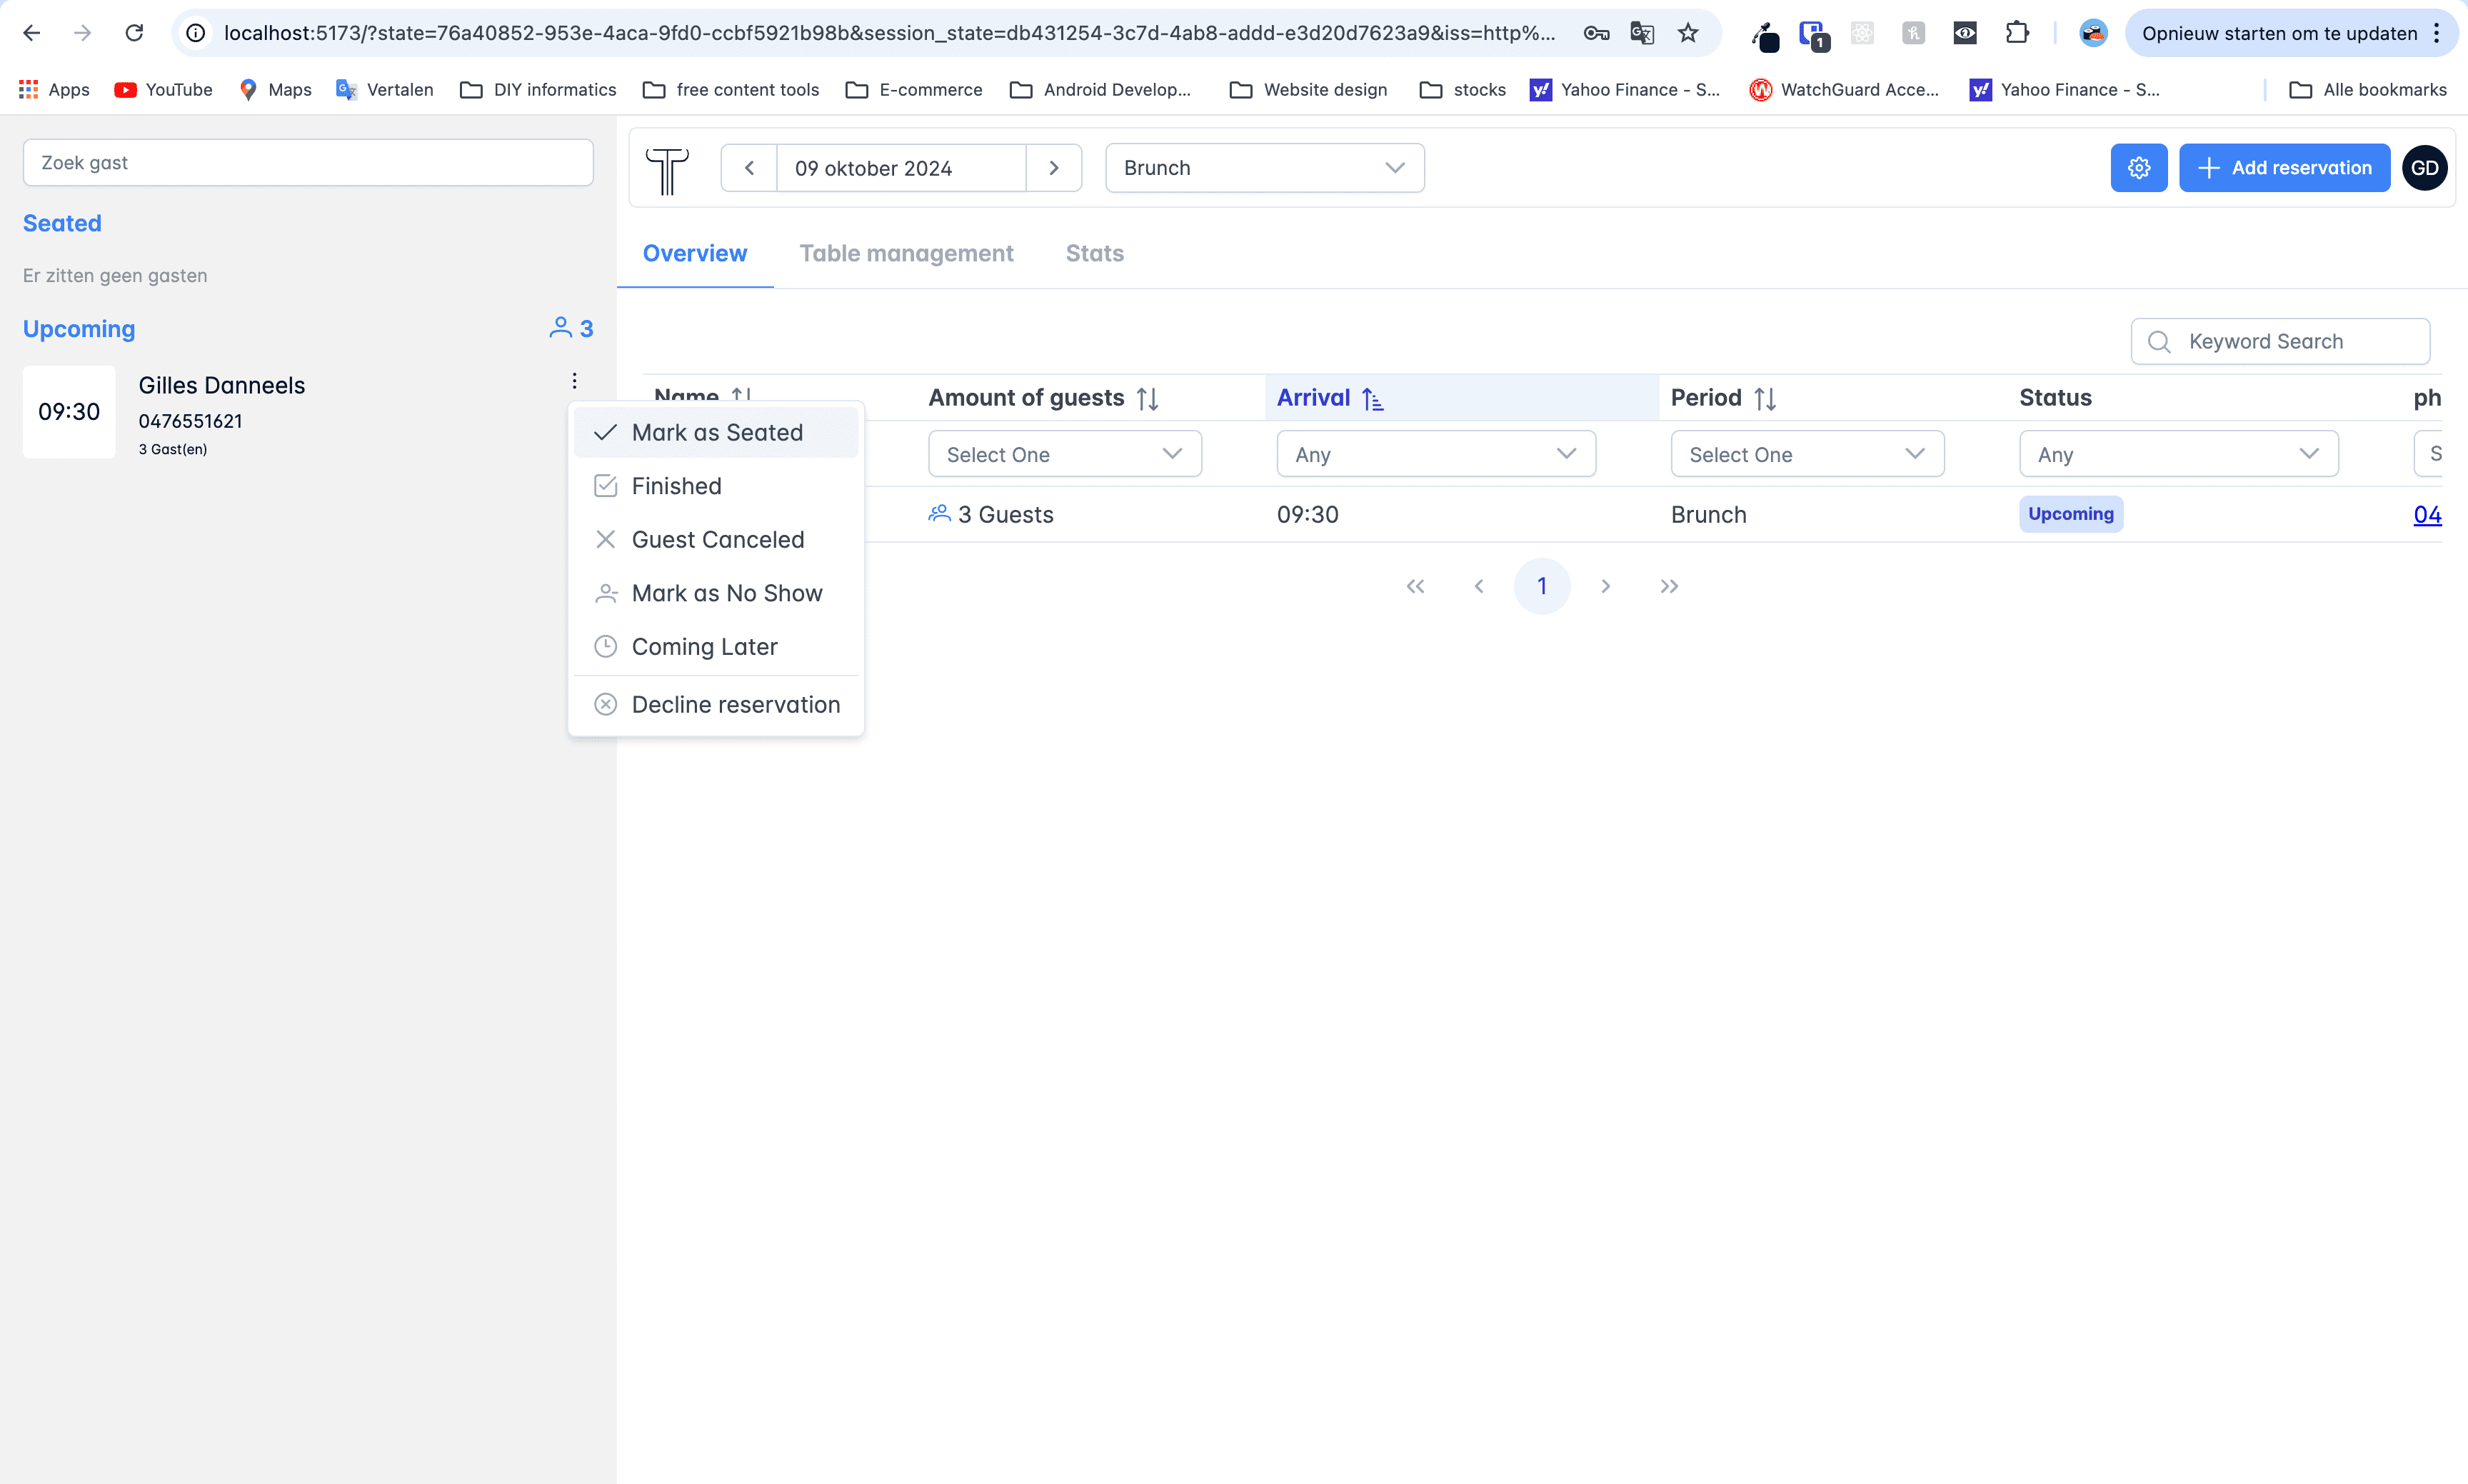
The widget was just the first step. Restaurant owners also need an overview of their reservations, as well as a way to manage the settings of when and how reservations can be made. This led me to develop the Table Hub Portal—a place where owners can control all settings, including reservation times, availability, and custom settings like specific dates or states of reservations (e.g., canceled or confirmed).
Challenges
Of course, there were a few challenges along the way. But challenges are great because, although they take time to solve, they make you a better programmer. Here are some of the key challenges I faced:
- Setting up Keycloak for authentication and authorization.
- Using DNS subdomains to host different applications under one root domain.
- Figuring out the best approach to writing frontend and unit tests.
- Setting up GitHub Actions to automate test runs.